MQTT is a messaging protocol widely used in the internet of things(IoT) to control and access the smart things over internet. This tutorial shows how to develop a simple MQTT client for ESP8266 NodeMCU using Arduino framework. In this demo we use ESP8266 GPIO 12 connected to relay to control LED bulb. ESP8266-12E module comes with on-board LED connected to GPIO 2. We control these two GPIOs on receiving messages from MQTT Publish client. We are using an Android app as a publishing client and mosquitto MQTT broker running on Linux machine.
PubSubClient library is used for developing MQTT subscribe client running on ESP8266.
We develop MQTT subscribe client which subscribes on topic “
/root/switch1″
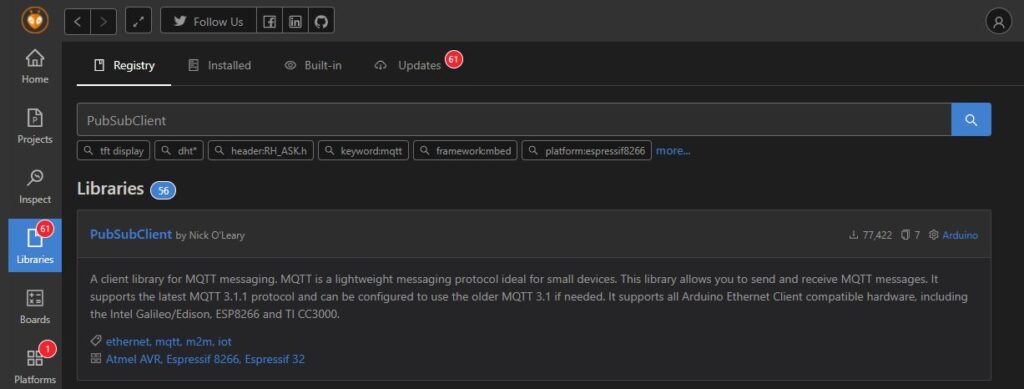
After creating a project, go to libraries and search for PubSubClient library, install the library and add to the project created as shown below. After adding the library to project platformio.ini file contains
“lib_deps = knolleary/PubSubClient@^2.8”
Adding PubSubClient to project in PlatformIO
Include the header files required for
ESP8266WiFi.h
and
PubSubClient.h
We are using ESP8266 GPIO 12 for connecting relay and on-board LED connect to GPIO 2.
#define RELAY 12
#define LED 2
Declare char string variables for wifi credentails
We need network client for connecting to Server over TCP protocol. WiFIClient network socket client class which provides socket communication APIs. PubSubClient requires socket client for initializing
In setup function we are connecting to WiFi access point with the credentials declared above.
while(WiFi.status()!=WL_CONNECTED) {
Serial.print (“.”);
delay(100);
}
Serial.print (“Connected to WiFi AP, Got an IP address :”);
Serial.print (WiFi.localIP());
Once the WiFi connection established successfully, Setup MQTT broker detail and connect to MQTT broker.
setServer
method takes arguments like MQTT broker IP address and port. Default port on which MQTT broker listens is 1883.
MQTT Client takes a callback function. This function is called when there is a data on the topic subscribed to, This
mqttCallback
function needs to be implemented.
PubSubClient callback function takes three arguments
Pointer to topic, pointer to mqtt message payload which is a byte array, and length of the message received.
void mqttCallback(char *topic, byte *payload, unsigned int length)
Copy the payload into character string and then to Arduino String class, and validate the message received from Publish client. If the message received is
‘ON
‘, Turn on the RELAY and LED by writing active high on GPIOs, if the message received is
OFF
, turn of the
RELAY and LED
.