

How to install a Cloudflare Origin SSL Certificate – NGINX

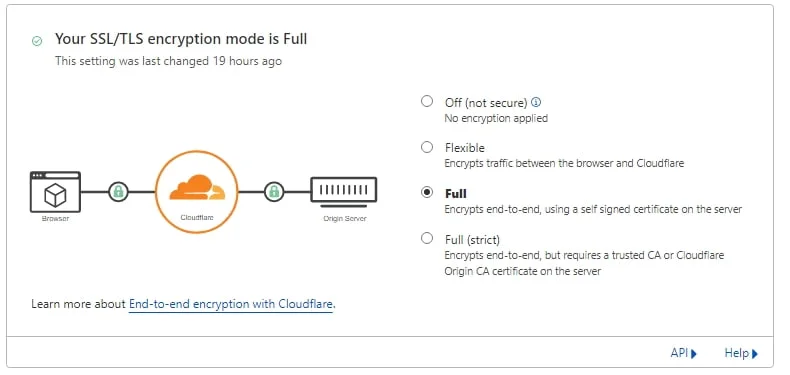
An SSL Certificate is vital to encrypt data between you and your clients. SSLs can be complicated things. If they aren’t installed just right, you will see browser errors. Many people use Cloudflare which offers three types of settings when it comes to certificates. Those are Flexible, Full and Full Strict. The problem is that each setting requires a different configuration. It’s easy to get mixed up. In this guide, we install Cloudflare Origin SSL Certificate NGINX.
Get Things Ready
So first, let’s get all of the files we require on the server. Create an Origin Certificate in Cloudflare. Navigate To SSL/TLS then Origin Server. On this page, click “Create Certificate” and on the next page, you will see some fields have been prepopulated. Take note of the host names. The defaults allow all certificates on subdomains and the main domain name. But, if you want to secure a double-barrel hostname (server-1.f2h.cloud), this must be specified in the field manually.
So once complete, generate the certificate. You now see two blocks. The top is your certificate and the bottom is your key. Make the following files on your server and copy the certificates to the files.
nano /var/www/cert.pem
nano /var/www/key.pem
Some people will also need the origin-pull certificate. It’s best to add this even if you don’t need it. Create the following file and paste the certificate from here to the file. It’s the very top link.
nano /var/www/pull.pemConfigure NGINX SSL Virtual Host
Now, in your server navigate to the /etc/nginx/sites-available folder and list the contents.
cd /etc/nginx/sites-available && lsHere you will see a virtual hosts file for the domain name that you want to install the Cloudflare origin certificate on. If you previously had an SSL Certificate installed on this domain name from, for example, Let’s Encrypt. The virtual host’s file will already have everything you need. You just need to make a few edits. If you have never had an SSL on this domain, you have some work to do.
Cloudflare Origin SSL Certificate NGINX
Domains with existing SSL Certificates
Open up the virtual host file for the domain you want the origin certificate on. Find the following sections and specify the path to the certificates you created in the previous step.
SSLCertificateFile /var/www/cert.pem
SSLCertificateKeyFile /var/www/key.pem
ssl_client_certificate /var/www/pull.pem;
Domains Without an SSL
For people who have never had an SSL, the file needs to look like this. You are adding the 443 directives and the SSL locations.
server {
listen 80;
listen [::]:80;
listen 443 ssl http2;
listen [::]:443 ssl http2;
root /var/www/html/;
index index.php index.html index.htm index.nginx-debian.html;
server_name dev-fr.f2h.cloud www.f2h.cloud;
ssl_certificate /var/www/cert.pem;
ssl_certificate_key /var/www/key.pem;
ssl_client_certificate /var/www/pull.pem;
location / {
try_files $uri $uri/ =404;
proxy_busy_buffers_size
512k;
proxy_buffers 4 512k;
proxy_buffer_size 512k;
fastcgi_connect_timeout 60;
fastcgi_send_timeout 300;
fastcgi_read_timeout 300;
location ~ \.php$ {
include snippets/fastcgi-php.conf;
fastcgi_pass unix:/var/run/php/php7.4-fpm.sock;
add_header X-Content-Type-Options nosniff;
add_header X-Frame-Options "SAMEORIGIN";
add_header X-XSS-Protection "1; mode=block";
location ~ /\.ht {
deny all;
You can then save and close the file. Run a test on the NGINX configuration to make sure all is correct with the virtual host’s file. If you have copied the above NGINX configuration and modified it for your domain. Ensure the path to the FPM socket is correct.
nginx -tSo, now you have your origin certificate on your NVMe VPS Server . Next, let’s restart NGINX to activate the new configuration. After this, you should now have a secure connection when visiting the website.
systemctl restart nginxThat’s the process of installing a Cloudflare Origin SSL Certificate in NGINX. The certificate will last for 15 years so it’s very unlikely you will need to complete this setup again.